Editing, Previewing or Deleting an Artifact
Editing an Artifact
To update the content of your artifact, click on the “Edit” tab to enter the Edit mode.
- The title of the artifact will now start with the italicized word “Edit Artifact.”
- You will also see that the breadcrumbs above the artifact title have changed to show a unique node identifier number (e.g., “Node/13491”).
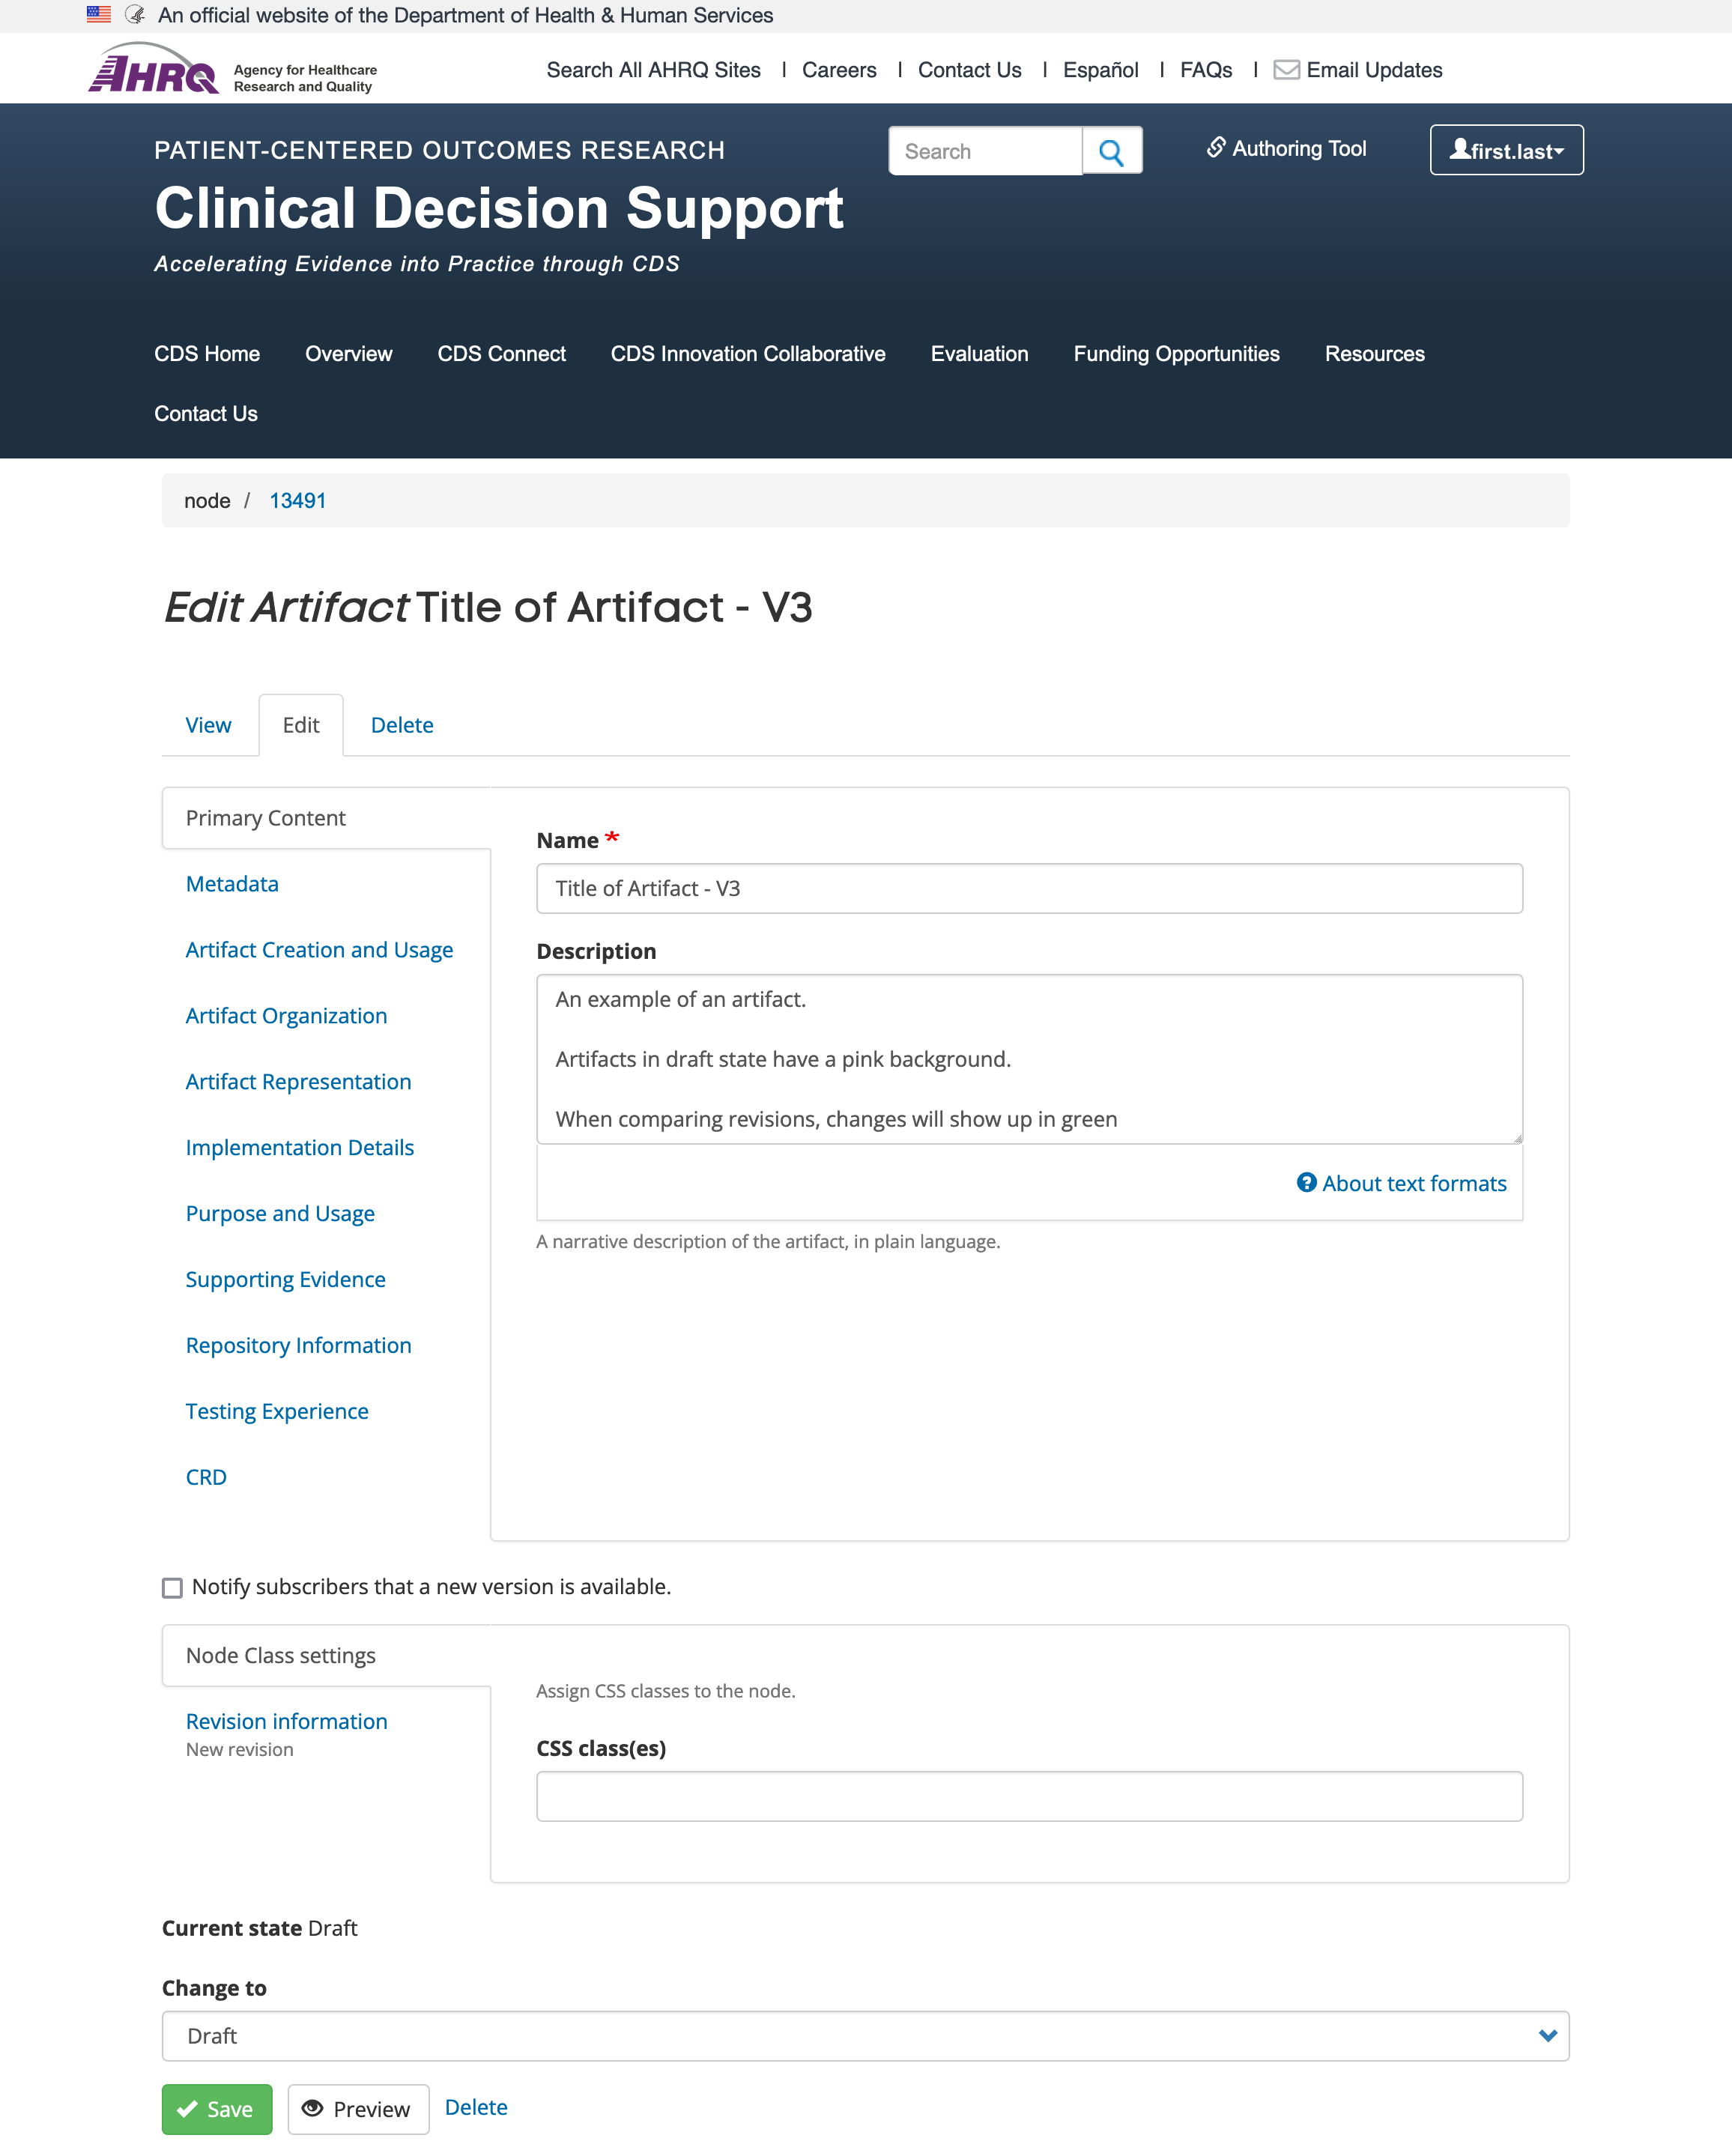
- Update your artifact content by navigating through the tabbed fields and making any necessary changes.
- FUTURE ENHANCEMENT: If this is a major update, consider checking “Notify subscribers that a new version is available.” This will send an email to CDS Connect Community members with user accounts who have indicated an interest in such changes.
- Any changes made to a previously saved artifact will cause a new revision of that artifact to be generated. Enter a description of the changes made to the saved artifact in the revision log message field on the “Revision Information” tab.
- NOTE: Remember to save your artifact as a “Draft” before leaving the system as there is no autosave feature available.
Previewing an Artifact
Before saving your artifact as a “Draft” or “Needs Review” revision, you may want to preview the changes.
- Click the “Preview” button, located between the “Save” and “Delete” buttons on the bottom of the page (see lower region of previous image)
- You will see the artifact content, as it will appear when made public, in the resulting view. The pink background indicates that this content is still in a “Draft” state. Note that breadcrumbs above the artifact title have changed to show that you are previewing a temporary revision of your artifact (node/ preview / 52c622c1 d42a4f1c 8c34 f745c738a2c4 / Title of Artifact - Test 3).
- To see how your artifact content will display in the different views used throughout the site, chose from the “View Mode” dropdown menu located in the upper right-hand corner of the page, in the light blue header.
- Full – The default view that is presented when selecting “Preview.” This is also referred to as the Artifact Detail page and includes all the fields that have been authored.
- Summary – This view shows a minimal amount of content (Title, Publisher, Creation Date) and appears when an artifact is listed on the “My Account Home” page under the “New or Newly Updated Artifacts.”
- Teaser – This view is also referred to as the Artifact Summary. This is the way artifacts are listed in the Repository and in search results. This view displays the Title, Artifact Type, Publisher, MeSH topics, Created Date, Reviewed Date, and Updated Date. The flag banner to the left displays the most recent of these three dates.
- To leave Preview mode and return to the Edit mode to either save the content as is or edit further, click the aqua blue “Back to Content Editing” button in the upper left-hand side of the header of the page. You may also use the back button in your browser.
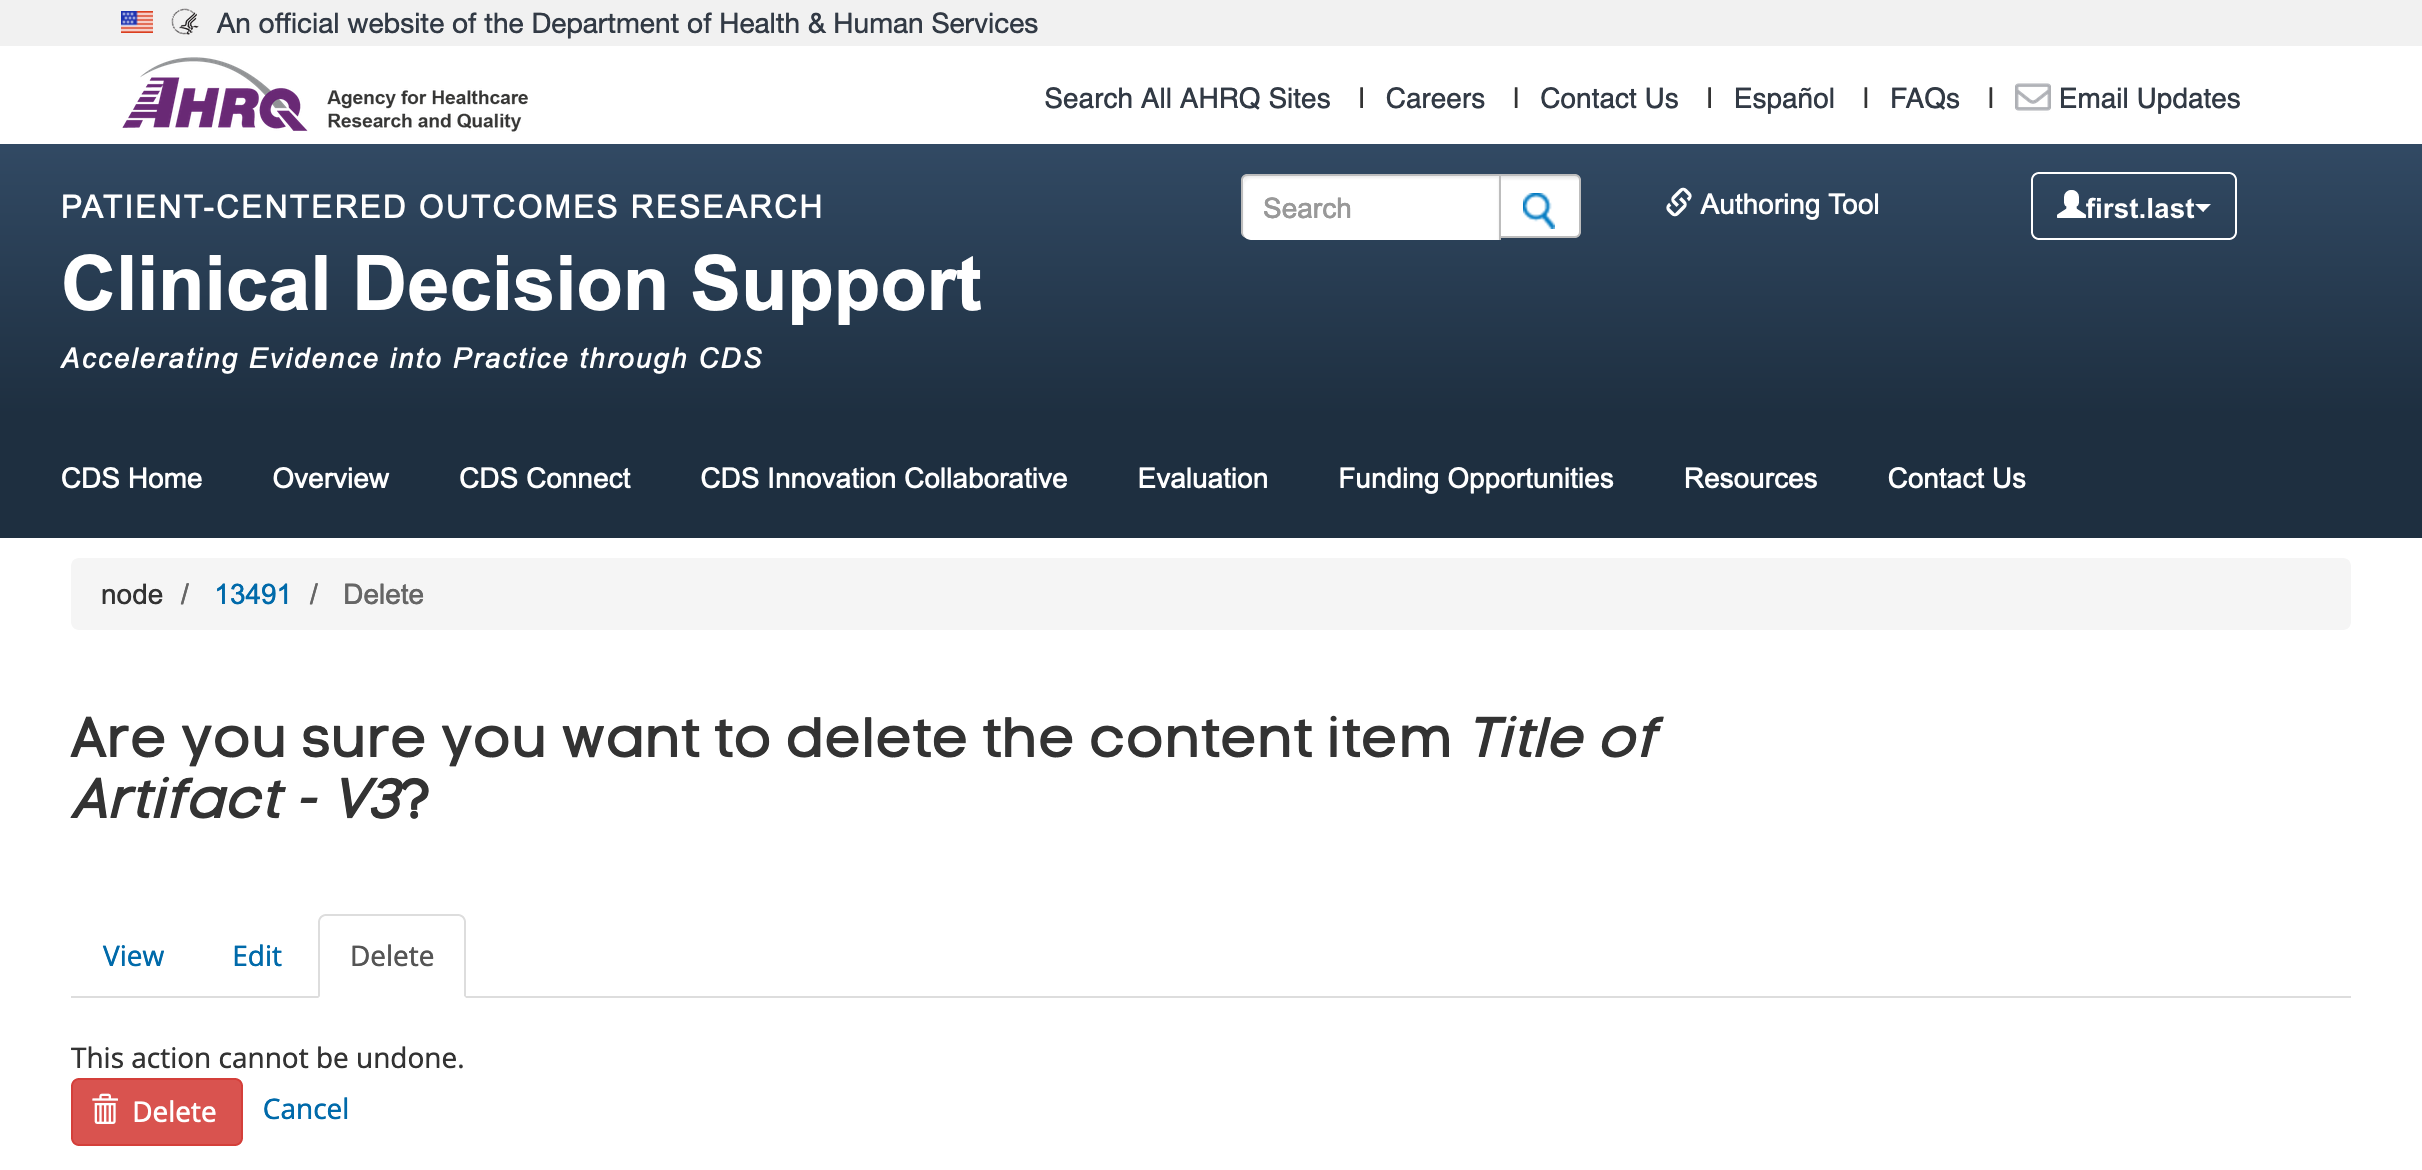
Deleting an Artifact
Use the “Delete” tab to delete an artifact. Deleting an artifact deletes the primary content node and all revisions. Once an artifact content node is deleted, it cannot be restored. An artifact can also be deleted when in edit mode via the “Delete” button next to the “Preview” button.
Please confirm that the title and node number are correct before deleting.